Tuesday, July 5, 2016

May 2016 - NCSU On-Site Facility Tour

So, I had been really curious about the design of septic systems, and I wanted to make sure I knew what I needed to as far as the system for the new house. The soil in my leach field area isn't great, so I wanted to install the best system I could to avoid any future issues. I was having a hard time finding information about the different type of systems and tanks used, until I found out that NCSU has an On-Site Waste Water Demonstration and Training Facility. Jonathan Godfrey, who heads up the facility, gave me a tour and filled in all my blanks about on-site wastewater systems. The facility is off Lake Wheeler Road in south Raleigh, and they have all the different treatments systems setup where they can be demonstrated in operation, just above ground so you can see it. Here are some photos I took of some of the displays that were relevant to my install.

Traditional concrete septic tank.

Newest technology plastic tank (Infiltrator IM-1060).

One type of pressure manifold.

Another type of pressure manifold.

A third type of pressure manifold.

Tuesday, May 24, 2016

May 2016 - Drawings

After my last post of the 3D model images, I guess I could post the drawings too, in case anyone is curious and wants to see them. The entire west side of the house has been redesigned, so see the revision sketches at the bottom for the revised layout.


May 2016 - Sketchup Massing Images

I realized that I never have shown any images of what the house is supposed to look like. Here are some old 3D images of an earlier massing/ shading model I did. It is not very detailed or that accurate, but it give an idea what the end result will look like.


May 2016 - Cladding Underway


We have begun the cladding installation work. The entire house is being wrapped in 2" rigid foam (mostly Dow Scoreboard) and then furred out with treated wood. This creates a back ventilated rain-screen facade. For the ventilation at the top and bottom of the wall, we are using Cor-A-Vent SV-5 vent strips. The furring is being attached with FastenMaster HeadLok screws.

First of wall furring system installed. These long walls will be covered in prefinished corrugated metal.

The whole west facade.

Here are some more shots of the Enduramax masonry veneer system being installed. The interlocking foam panels go up, and then the stainless steel clips are installed. The clips serve two purposes: one is to hold the foam on the wall, and the other is to anchor the veneer to the wall. What is hare to see is the "fingers" on the clips that will be embedded into the wall mortar, providing for the anchorage.

Tower adjacent to the front door.

Same tower, opposite side (looking west).
Rear tower.

Old photo closeup of the panel with the clips.

May 2016 - More Windows

Got the remainder of the Marvin Integrity doors and windows installed, and they look great. Big thanks to Kelly at Talbert Building Supply and Sharon with Marvin Windows for all the help.

Office.

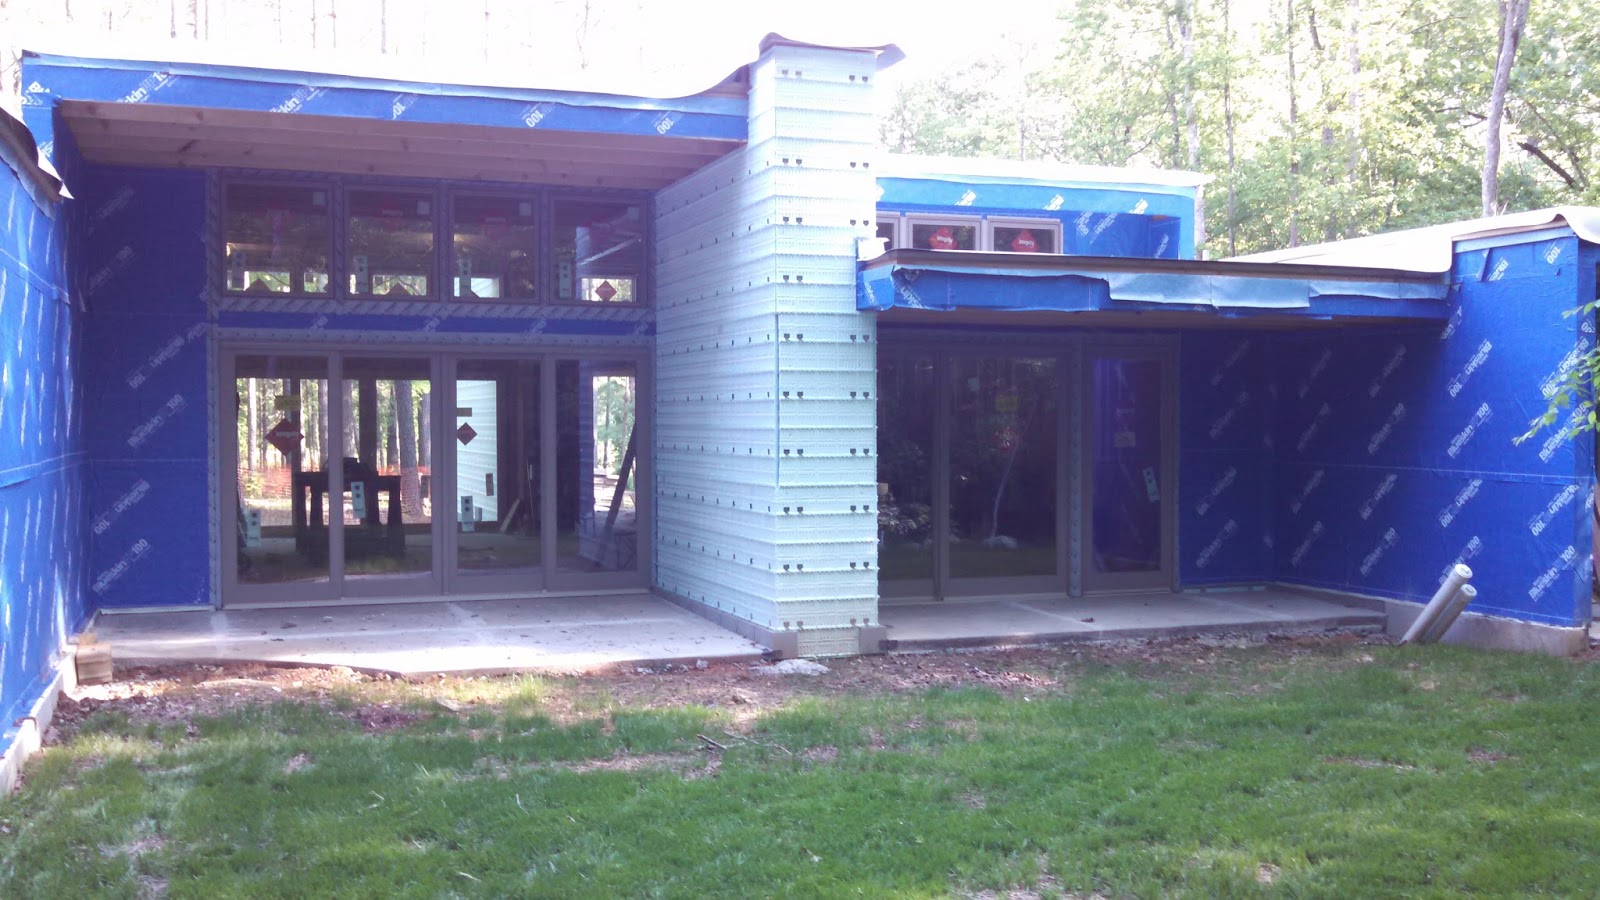
Rear view. (I have grass!)

Living Room on the left, Dining Room on the right.

The view out of Misha's room.

Living Room to the left, kitchen to the right.

Dining Room on left, Living Room on right.

Gallery.

April 2016 - Window and Patios

We got a lot of stuff started this month, just not much finished! The windows were delivered; I ended up using the Integrity line of Marvin windows. The commercial grade aluminum units I was planning on using didn't work out. The Integrity units are really nice, and the added bonus is that they have a 7-10 day lead time! We also started the Enduramax masonry veneer system from Oldcastle/ Adams Products. The system is designed as a fulled anchored masonry veneer over a layer of continuous insulation with built in drainage channels. We had to install the first course of the system in order to pour the concrete patios around the house; and we had to pour the patios before installing the majority of the Integrity Sliding Doors.

Windows and Door at the Gallery, overlooking the big rock.

Patio slab prep. Also, the beginnings of the install of the Enduramax masonry veneer system.


More patio slab prep - there are nine of these patio areas.

Living room patio slabs poured.

Misha on the Bobcat again!

Tuesday, March 22, 2016

December 2015 - Roofing Part 2

We finished getting all the membrane adhered, finally. We did have some issues with the adhesive, mostly with the application rate and the temperature/ humidity in the air. It was mostly due to our inexperience using this system. We ended up with quite a few wrinkles in the membrane, but overall I am happy with the result. I might should have used the 45 mil membrane, as, although the 60 mil is tougher, it is quite stiff. I am anticipating issues where the membrane needs to be bent when we install the edge metal.
Roof membrane installation in progress.

Ditto.

Barely got the membrane down in tome for a huge rainstorm.

Water drains off fairly well. It does pond some at some of the wrinkles.

Diamond cricket is visible here.